A COMPLETE COURSE IN DRESSMAKING
outside hood and slip the lining over the hood with the right side of the lining next to the right side of the hood. Stitch around the front edges and turn the hood right side out.

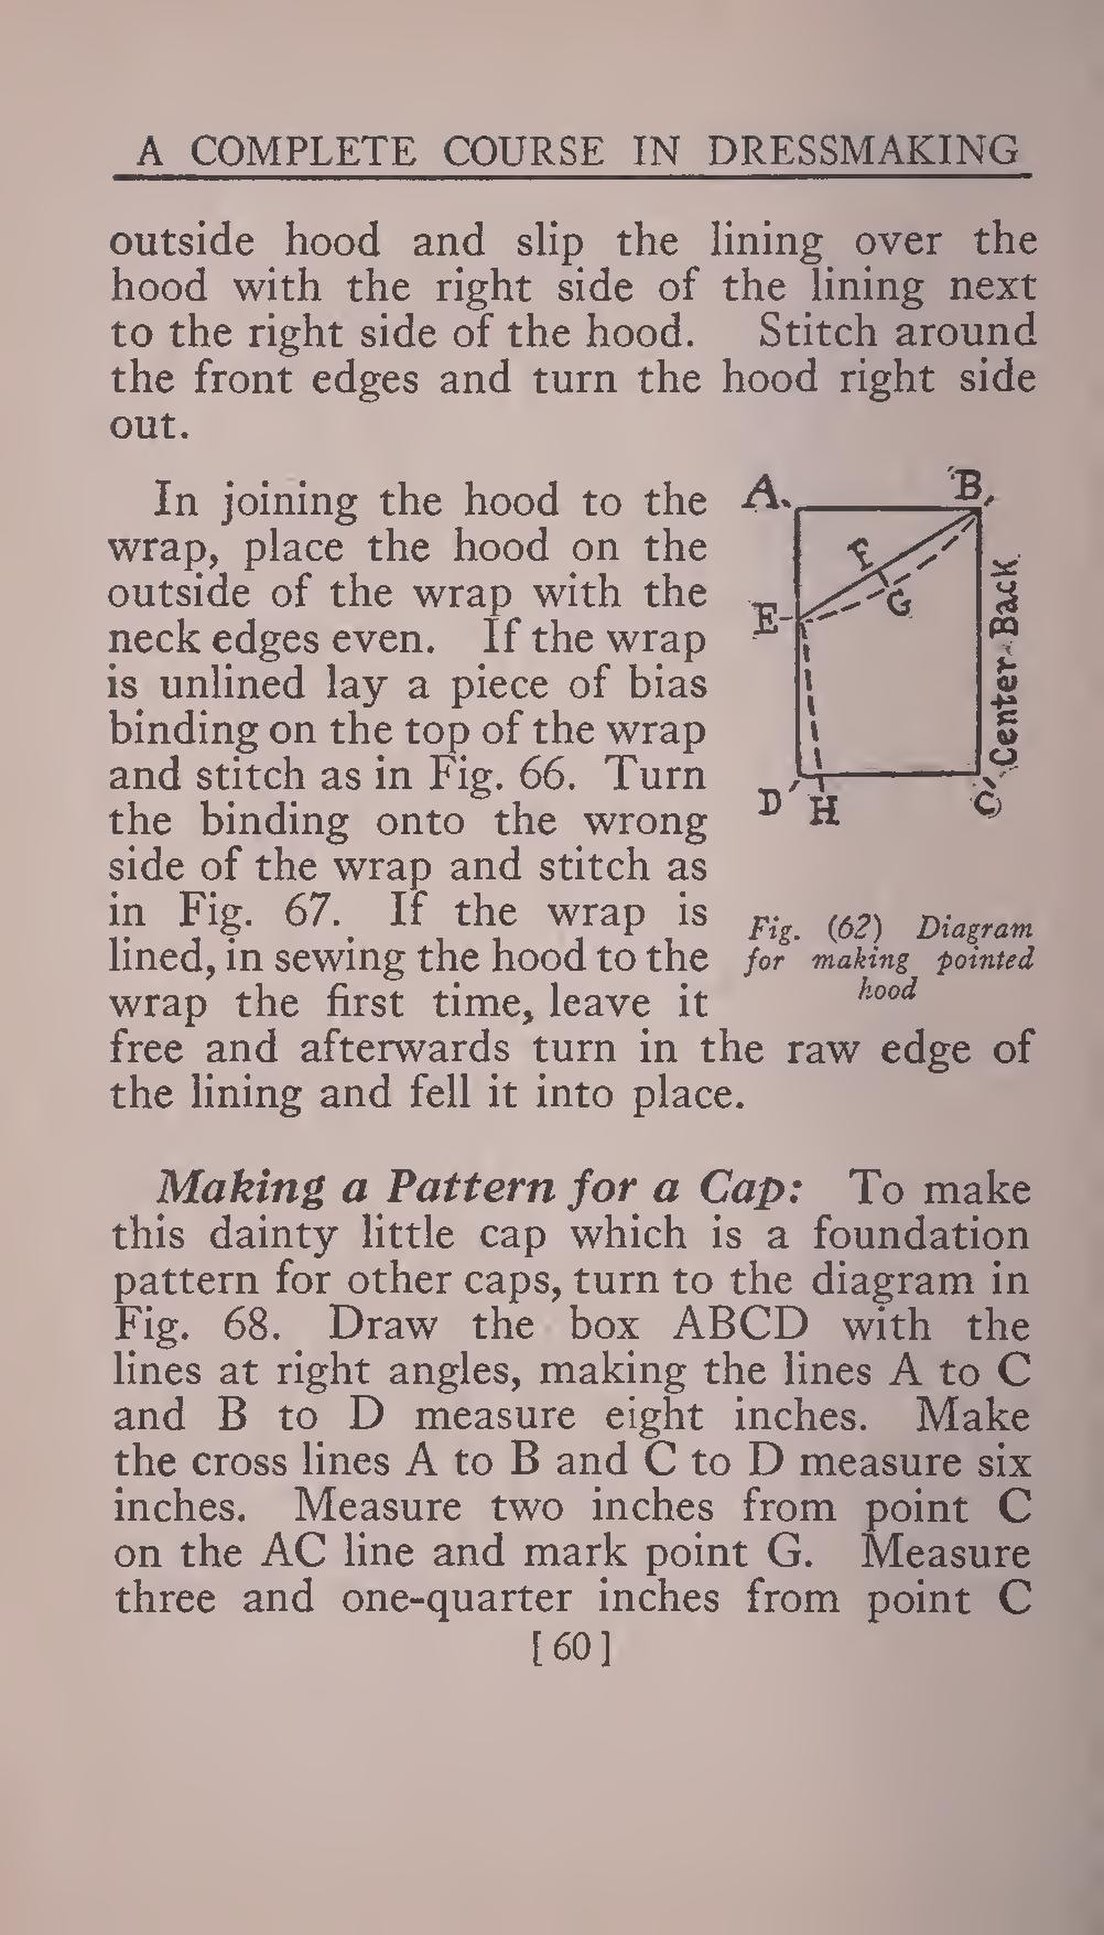
Fig. (62) Diagram
for making pointed
hood
In joining the hood to the wrap, place the hood on the outside of the wrap with the neck edges even. If the wrap is unlined lay a piece of bias binding on the top of the wrap and stitch as in Fig. 66. Turn the binding onto the wrong side of the wrap and stitch as in Fig. 67. If the wrap is lined, in sewing the hood to the wrap the first time, leave it free and afterwards turn in the raw edge of the lining and fell it into place.
Making a Pattern for a Cap: To make this dainty little cap which is a foundation pattern for other caps, turn to the diagram in Fig. 68. Draw the box ABCD with the lines at right angles, making the lines A to C and B to D measure eight inches. Make the cross lines A to B and C to D measure six inches. Measure two inches from point C on the AC line and mark point G. Measure three and one-quarter inches from point C
[60]
